
I spent some time taking bad, blurry photos (if you've looked over this blog you will no doubt have seen some of them!) before I hit on a simple method of taking clear, photos very simply.
I don't know what an f-stop is, I have no idea how to use lenses or light meters or adjust shutter speeds (or why you'd want to do so) so you won't find any complex instructions on this page. This is a quick, simple and "good enough for me" guide.
Update: I originally wrote this post in mid 2013 and received a number of valuable items of feedback as a result. I've included a couple of those that were simple to achieve (or at least to look into - I don't know what kind of cameras you have out there) as they can make a significant difference to the results you get. Credits to the suggesters are given along with the updates, which are (like this paragraph) highlighted in cyan.
Use a real camera
My first item of advice is "use a real camera" as opposed to a camera-phone. There's one simple reason for this, which is that you want something that will hold still (see the next section about the mini-tripod) and mobile phones don't lend themselves to that very well.For most people who will - like me - be uploading their photos to a website, the "megapixel" rating of the camera is probably not of great concern. Chances are you'll need to shrink your photos anyway as they'll be too large to fit on a screen and too big to get very many on your website/blog if you don't. I'm using an old Pentax 5MP camera that I got off eBay few years ago for £20 (around $30). It's nothing special - just a basic camera.
Buy a desk tripod
This is important - you need the camera to be as stable as possible. You will be close to your minis and the slightest wobble will be magnified by proximity into a big blur. I bought a mini-tripod from a UK store called "Poundland" where everything costs just £1 (around $1.50). It's brilliant. Similar things are available from eBay and Amazon.
Use the camera's macro button
This is also important. Being close up to your models needs your camera to focus in a particular way. Most modern cameras can do this quite easily as they have a "Macro button" specially for the purpose. Just press it, your camera will do all the rest.
Update: Not too close though!
Hanska at Bolter and Chainsword made a good suggestion: "Why take pictures too close to the mini? Even with macro there is something called minimum focus distance, and way too many people take pictures too close so the camera can only focus on the background, leaving the mini really blurry. I take pictures from about 40cm distance and just crop them with the same software I resize the to net friendly size."Update: Use the camera's timer
Another good suggestion from Hanska at Bolter and Chainsword:Your camera probably has a function whereby you can press the "shutter" button and it delays for a pre-set period before taking the snap (so you can dash round and get your mug in frame for a "selfy". You can use this feature to eliminate even more "wobble" - put a small delay of say - 2 seconds in place to give your camera time to stop shaking from the business of having been touched when the button was pressed.Select your background
Purely down to personal preference - put your model in a context that will show it off to its best advantage. For you this might be to place it on a sheet of coloured paper with another sheet behind it (preferably curved slightly around it) or it might be in a scene or vignette with other models and scenery pieces. Whatever works best for you.Lighting (avoid flash if possible)
Lastly, make sure your model is as well lit as possible. Daylight is great but artificial light can work well too. At all costs, though, try and avoid using a flash (turn off your camera flash if it has one) as when your camera is very close to a model, the flash will totally overwhelm it.
Update: Colton Maier on Google+ made the following suggestion:
"Learn to use your white balance. Daylight vs. light bulbs will actually change how your camera sees colours slightly (we don't notice as much because our eyes adjust automagically) but a camera doesn't. My camera simply has options for what type of lighting you are in and it adjusts from there to the proper colours. This made a huge difference for me as one of my colours looked very blue in pictures but was actually more green /teal and playing with the white balance fixed this."
That's it
I said it was simple. You can try different types of lights, lights of different colours and so on. Experiment. Find out what works for you.
Have fun!
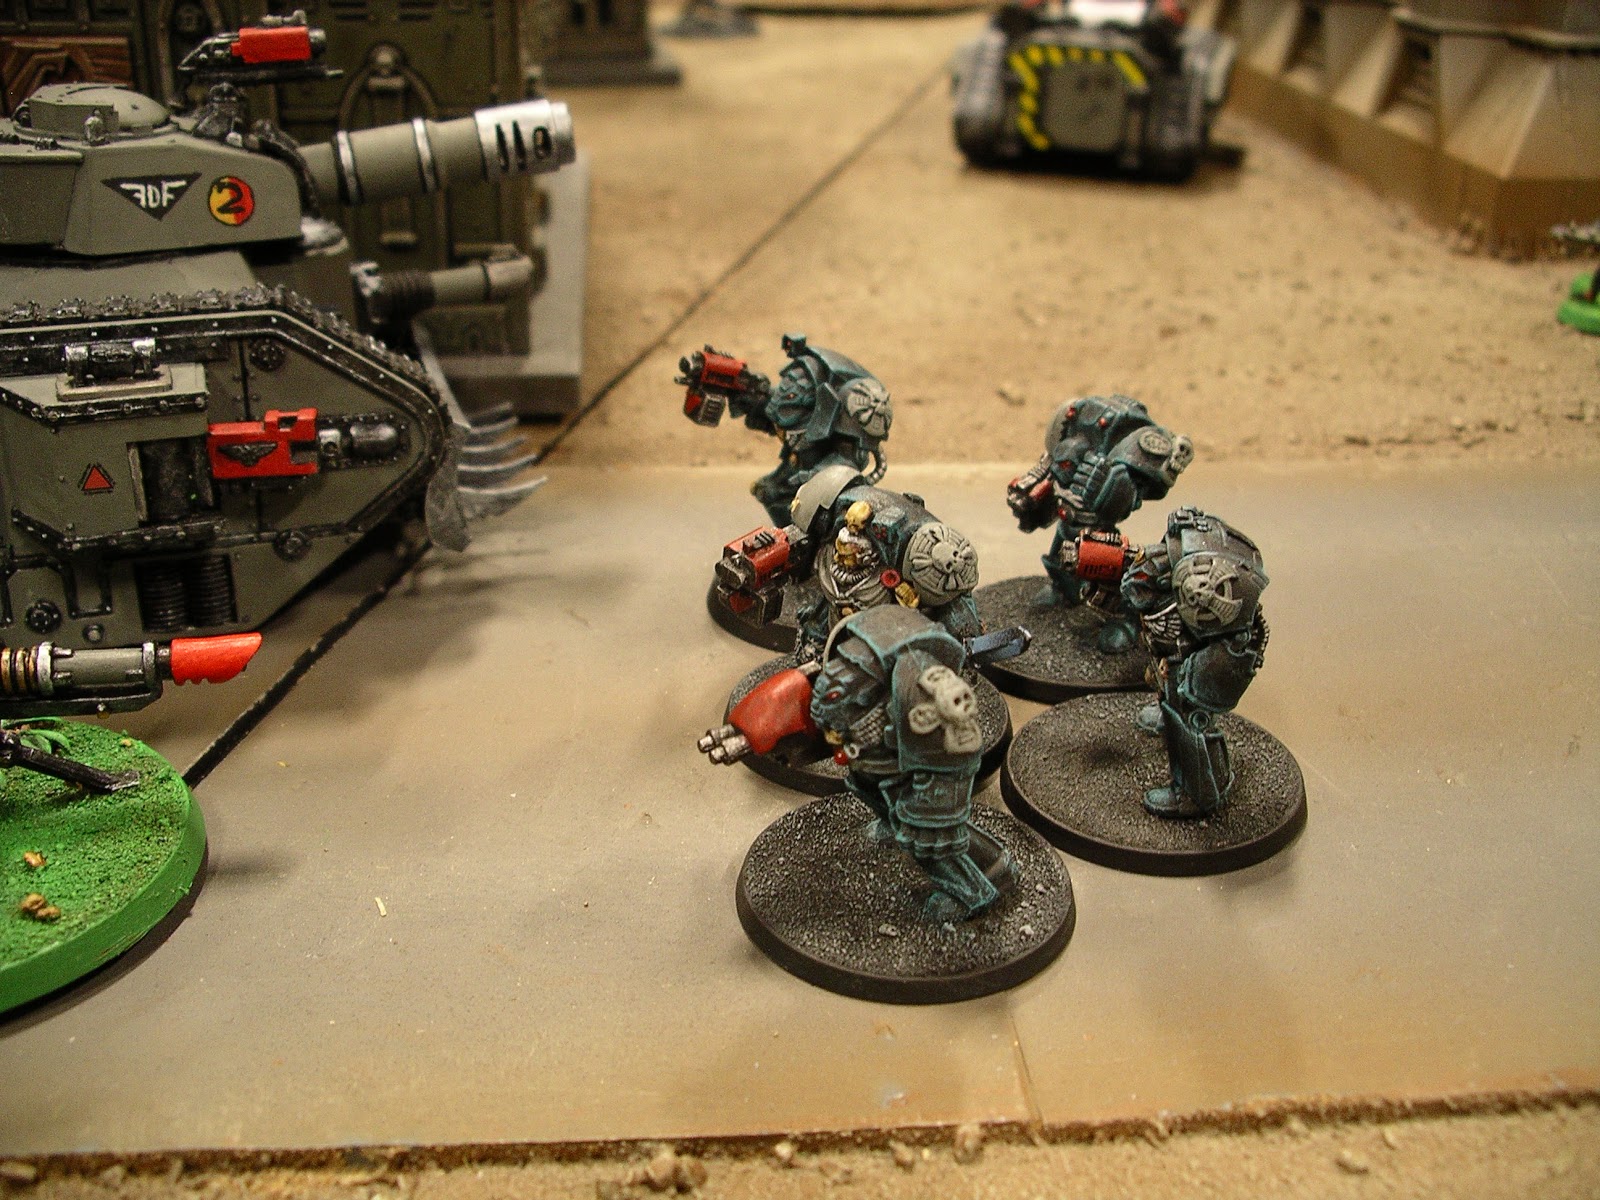
Here are a few pics I took using this technique (remember: not all the photos on my blog were taken this way so don't judge the technique by the quality of every photo here).


No comments:
Post a Comment
I'm interested to hear what you think. Please leave any comments you'd like to make here.